I finally decided to retire my old mechanical keyboard. But before tucking it away in storage, I felt a sense of duty—or perhaps a lingering guilt—to give it one last deep clean.
The Legend: i-rocks KR-6251
I believe I bought this keyboard back in 2012. At the time, I was suffering from finger fatigue and heard that mechanical keyboards could help. So, I dropped about $100 (a small fortune back then!) on the i-rocks KR-6251.
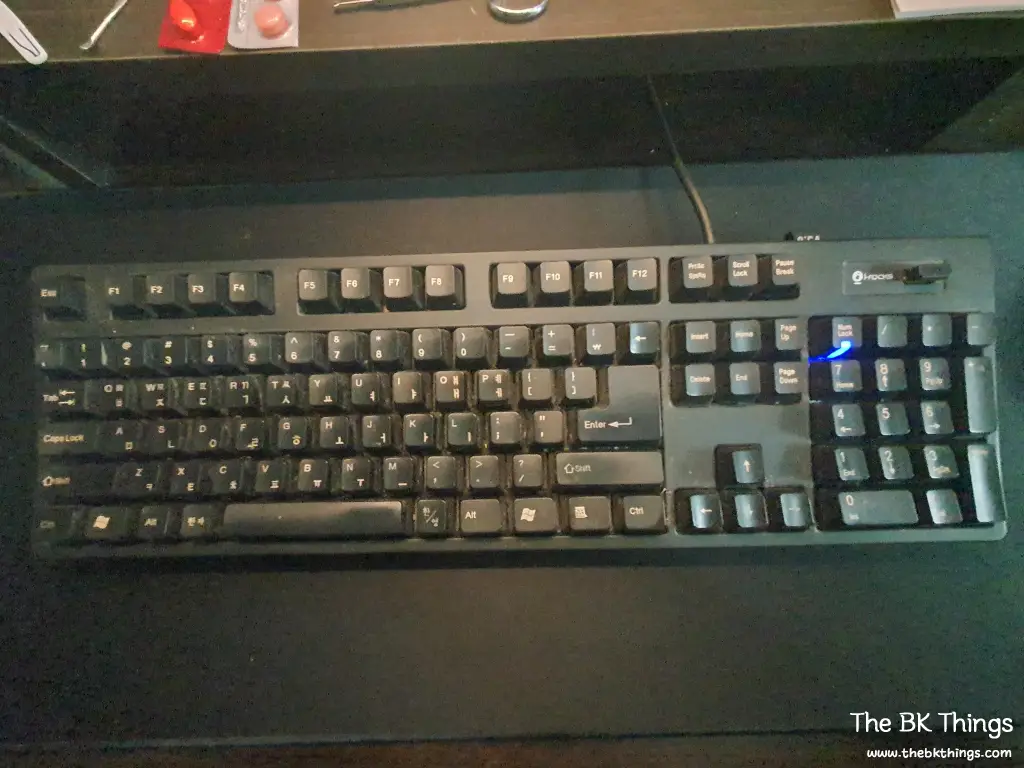
This thing is a tank. It features:
- Cherry MX Switches (the gold standard of durability).
- Built-in USB Hub with 3 ports.
- Zero maintenance for over a decade, yet still works perfectly.
However, even this legendary warrior couldn’t save my fingers from the passage of time. As typing began to feel strain again, I decided it was time for a change.
The Horror Under the Keys
I initially tried to pry the keycaps off with a flathead screwdriver, but quickly realized I needed the right tool for the job. One keycap remover later, I finally opened the “Pandora’s Box.”
Fair warning: 14 years of neglect is not a pretty sight.
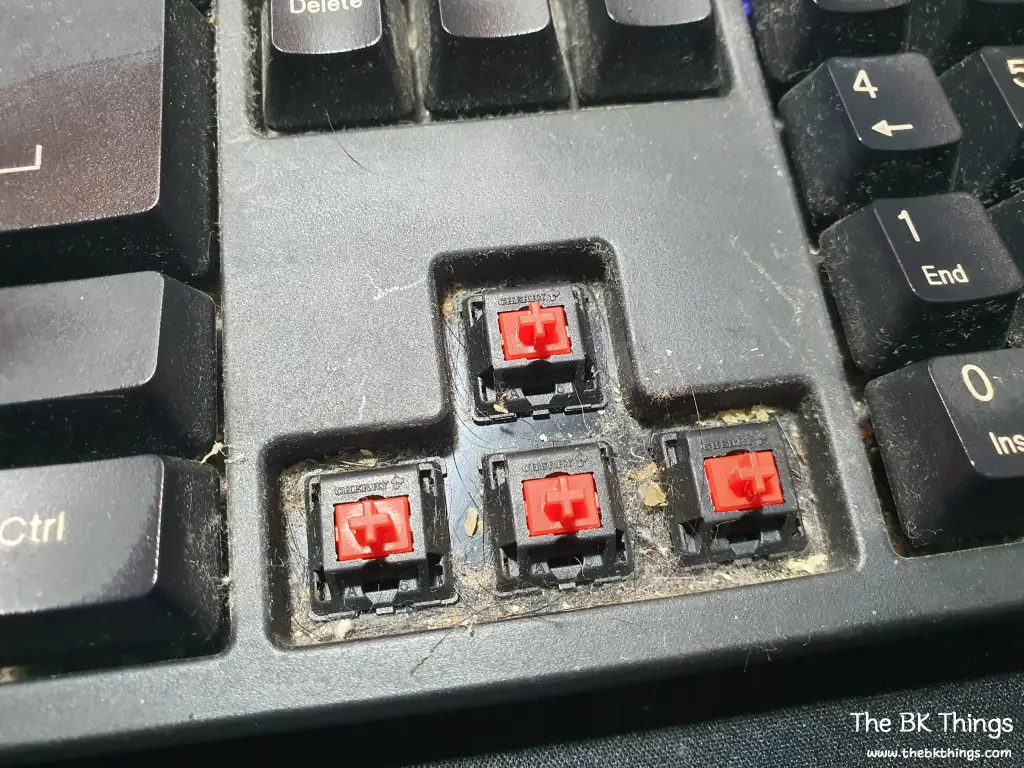
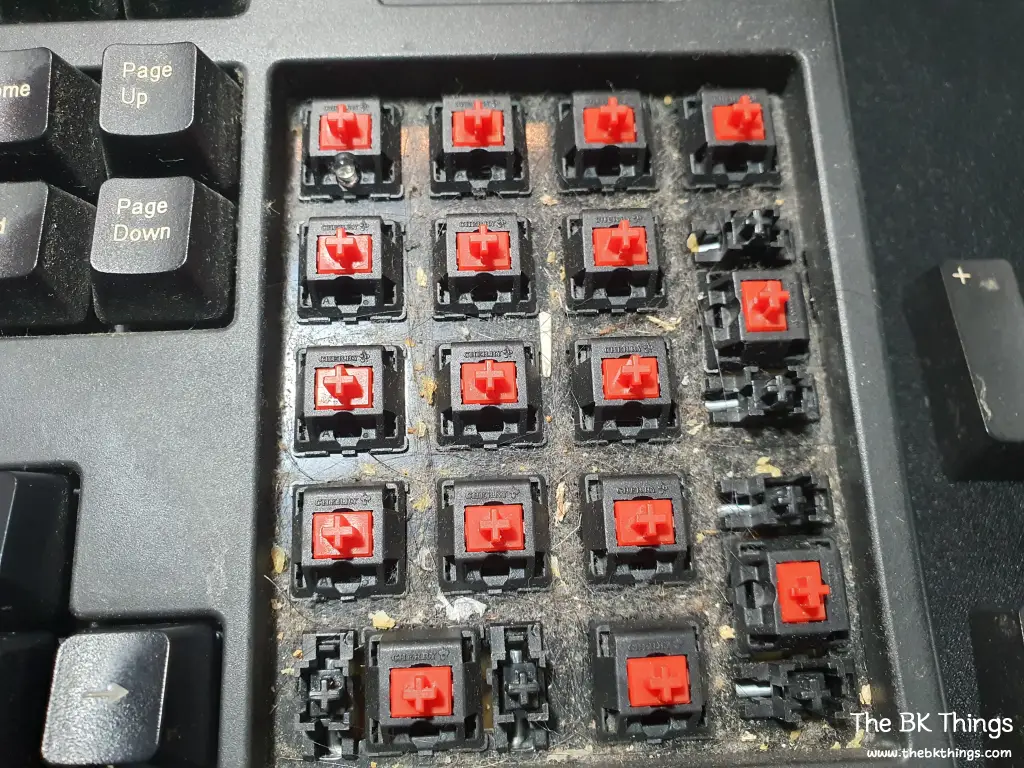
Even though I don’t smoke or eat at my desk, the amount of dust and debris trapped underneath was shocking. It’s honestly a miracle that the switches were still registering clicks through all that grime. I tried using a vacuum cleaner, but the debris was so stubborn it barely made a dent.
The Restoration
Mechanical keyboard cleaning every single keycap and wiping down the board took a significant amount of effort. Putting them all back in their right places was another mission entirely.
Through this process, I finally understood why people buy those mini desk vacuums. Maintenance isn’t just about aesthetics; it’s about hygiene and keeping your gear alive.
Final Thoughts
If you’ve been using the same keyboard for years without a second thought, this is your sign to clean it. You’ll be surprised (and maybe a little horrified) by what you find.
Trust me, your fingers—and your desk—will thank you.