This post was originally written in 2019, after about three years of using my Dyson V6.
I bought the full Dyson V6 cordless vacuum set brand new back in 2016, and it has served me well ever since. Not long after I bought it, Dyson released a new V6 model with an added HEPA filter. I paid full price for mine, so that one stung a little.
After three years, the vacuum started to smell every time I used it. Cleaning the parts listed in the manual did not help at all.
Living with my dog Chamggae probably contributed to the smell. But I think the bigger reason is that I like fabric. I have a fabric sofa, and my Chevrolet Orlando has fabric seats. I often cleaned both with the mini motorized tool, and that seems to have played a big part.
So I set aside a day and decided to take the vacuum apart, using a few teardown videos as a reference.
What You Need
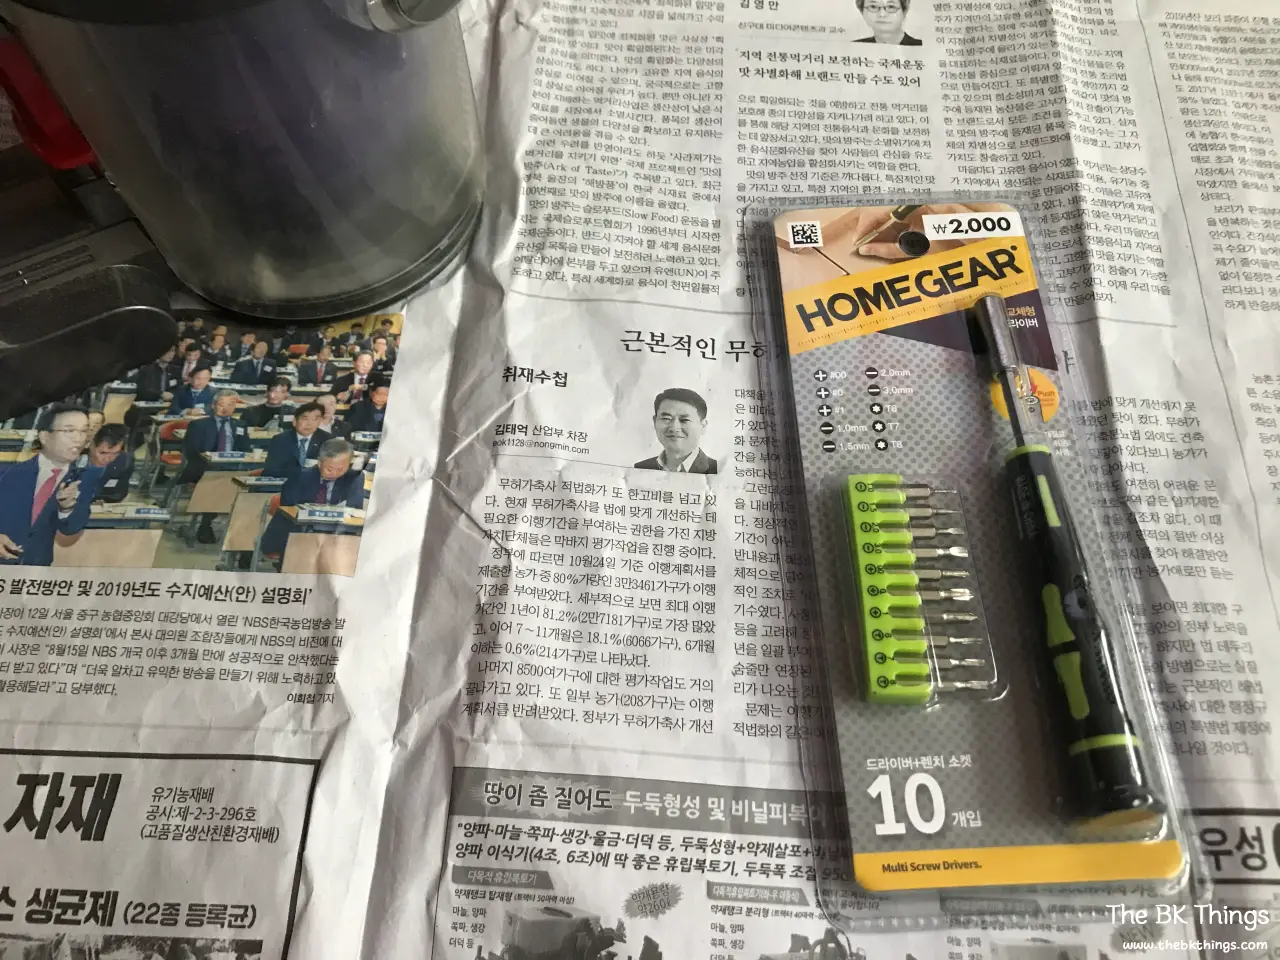
To disassemble the Dyson V6, you need a Torx (star) screwdriver in size T7. I bought an inexpensive set at Daiso, a Korean budget store. Any hardware store or online shop should have one.
Tip: I laid down newspaper so I could take photos, but I don’t recommend it. Do this in the bathroom instead. You’ll see why.
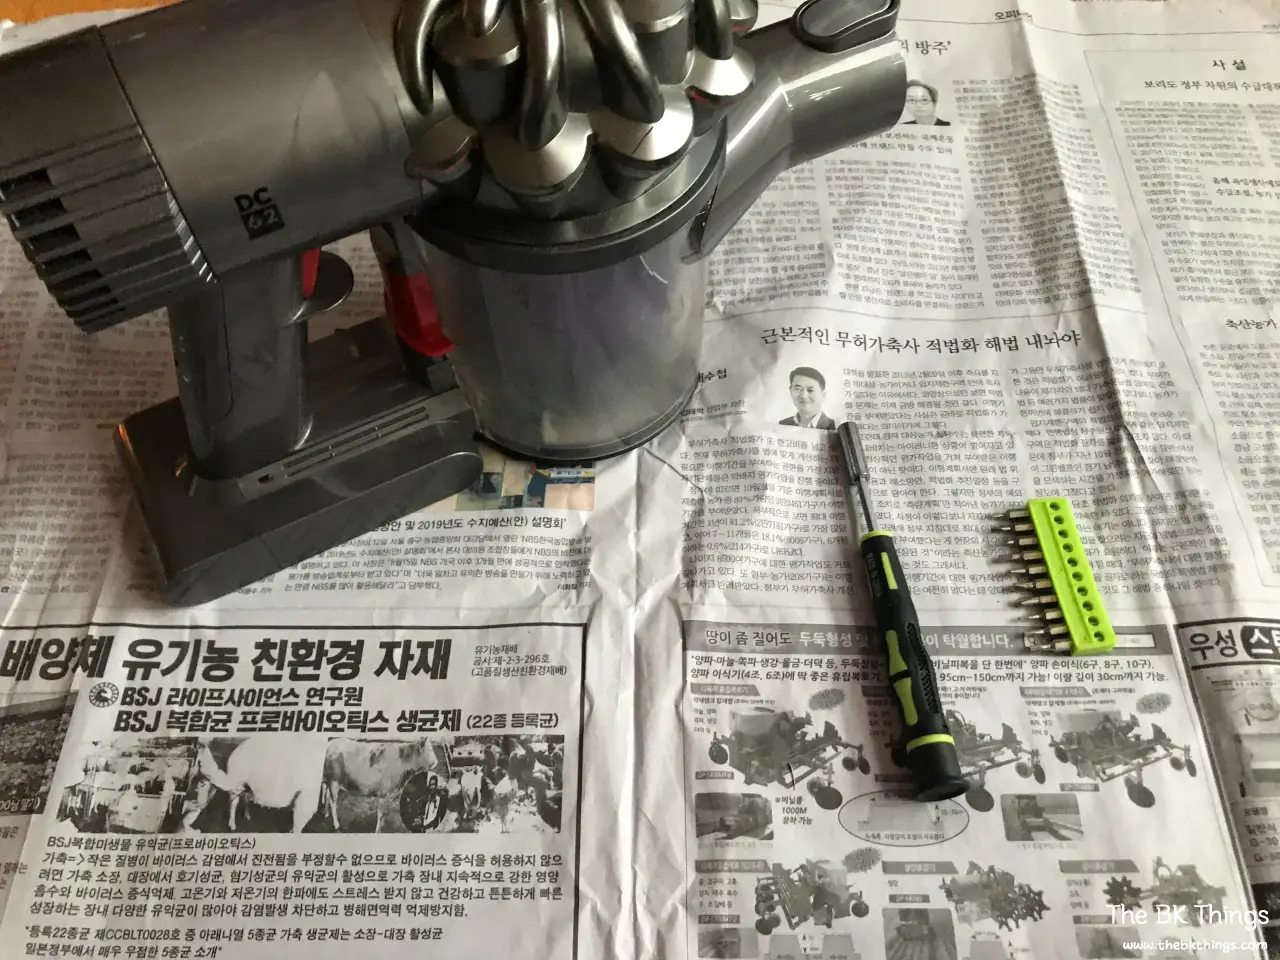
The driver I bought uses magnetic interchangeable bits. It performs about as well as you’d expect for the price, but it was good enough for this job.
Step 1: Pry Open the Cyclone Housing
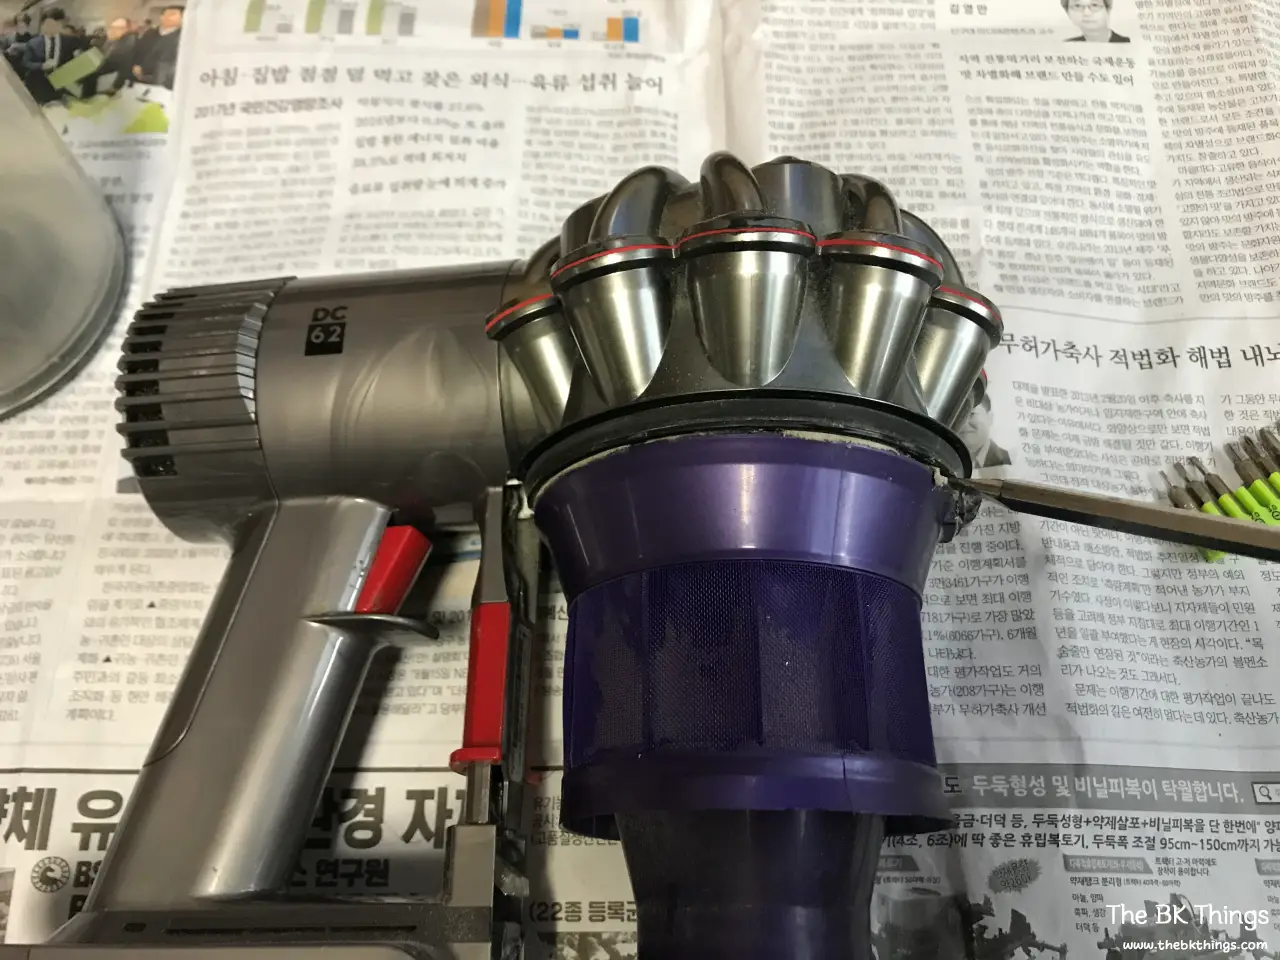
Inside, there was a flour-like layer of dust that would not come out no matter how much I shook it. This was the source of the smell.
First, use a Phillips screwdriver to gently pry the parts apart, as shown in the photo. Work your way around the edge. You can apply a bit of force. The plastic isn’t very rigid, so it shouldn’t crack or break.
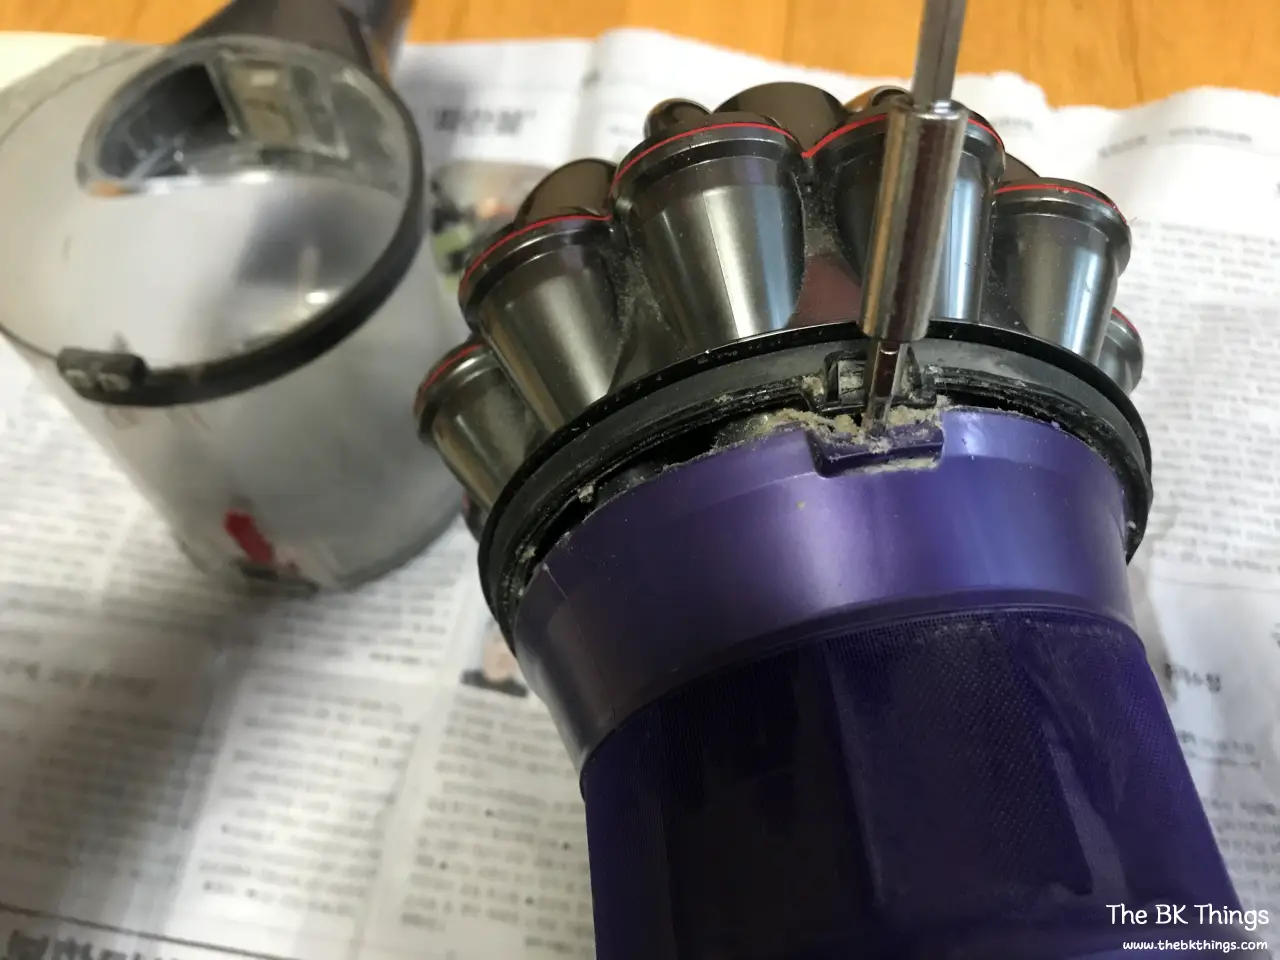
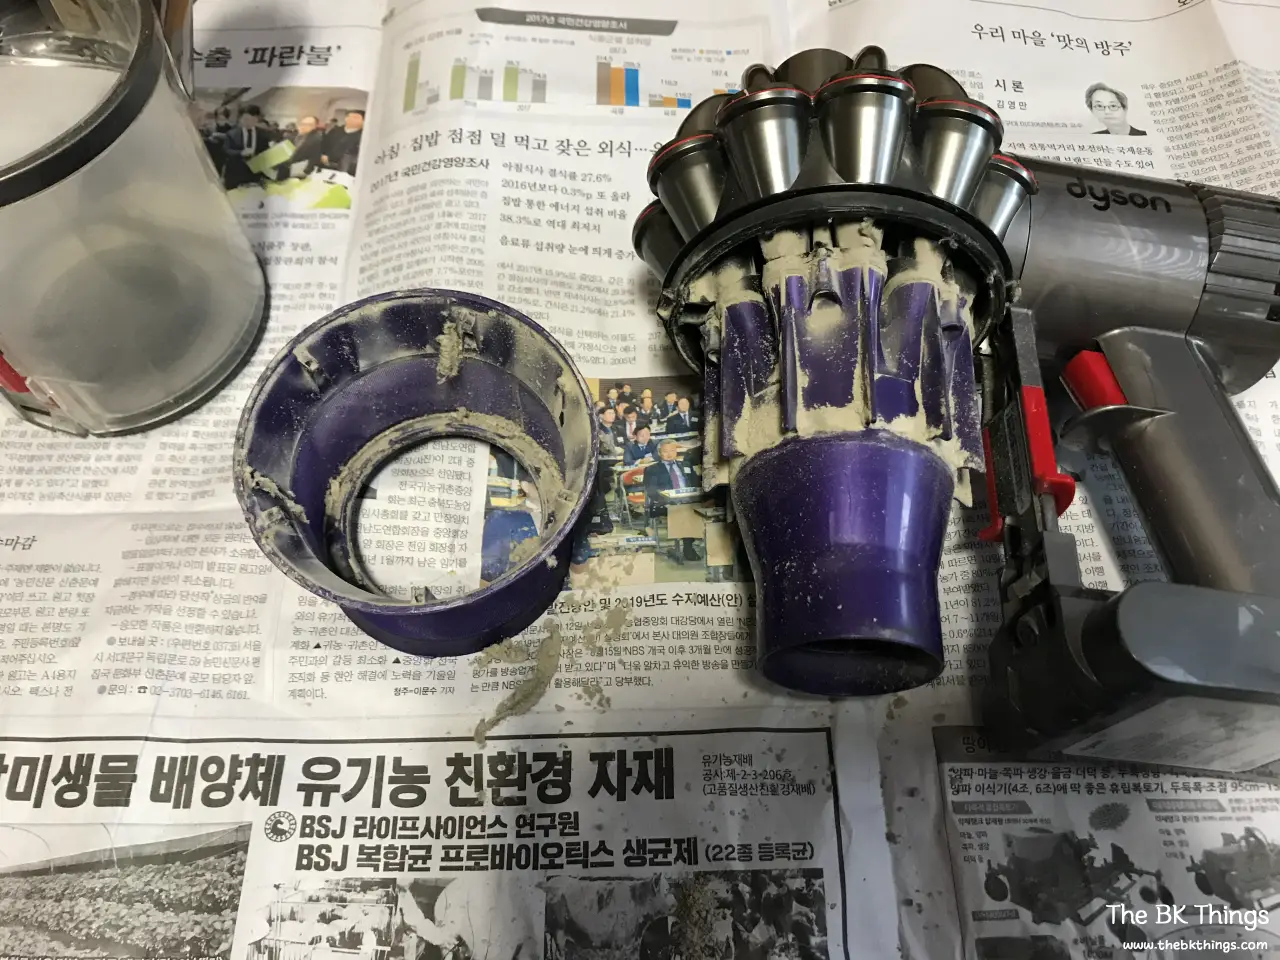
The amount of dust was unbelievable. This is what three-plus years of use looks like.
Step 2: Remove the Torx Screws
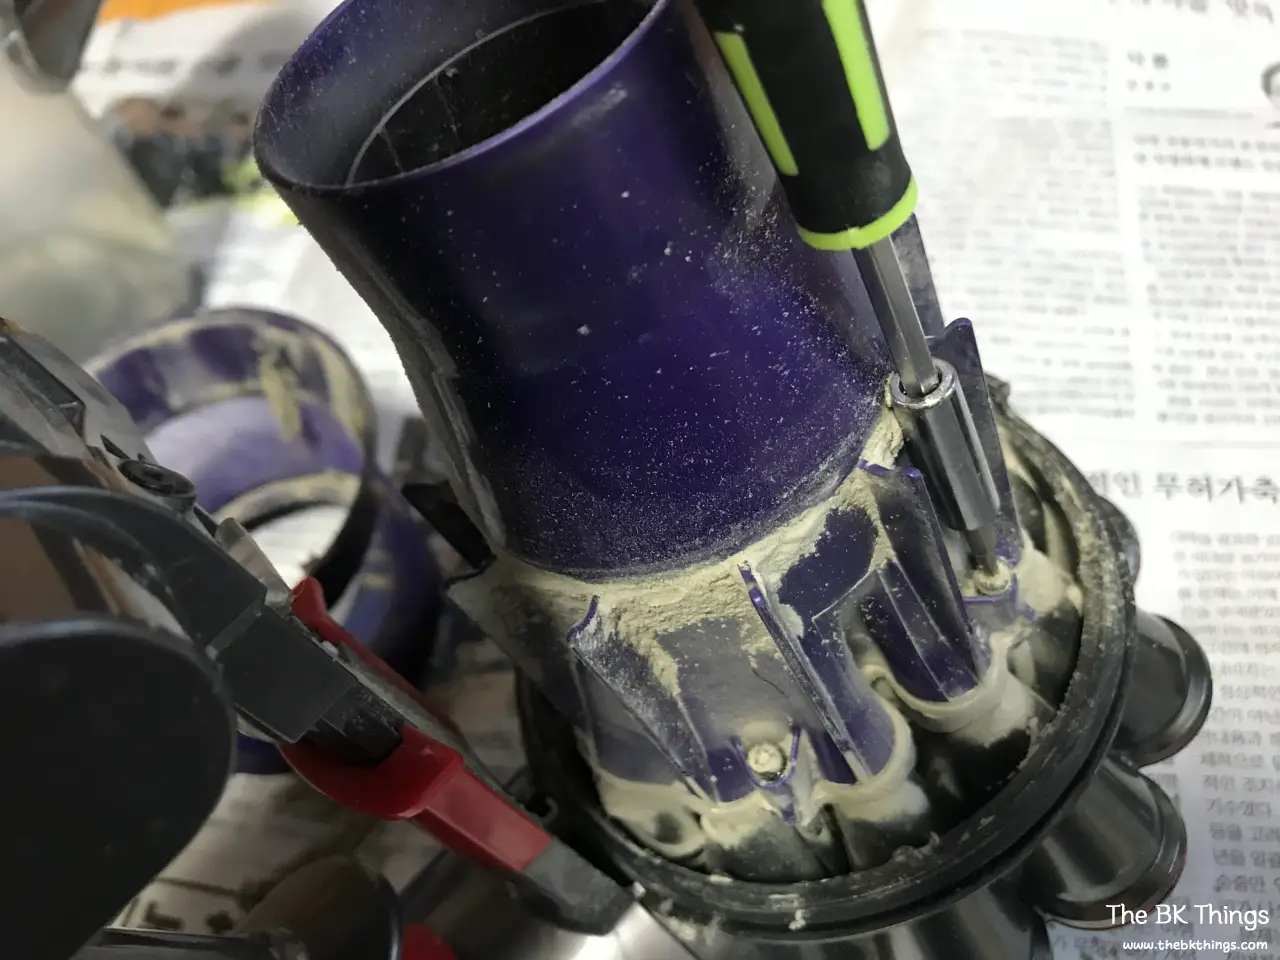
Next, use the T7 Torx driver to remove the screws. There was so much dust built up that I couldn’t even see the screw heads. I had to feel my way in, but they came out one by one.
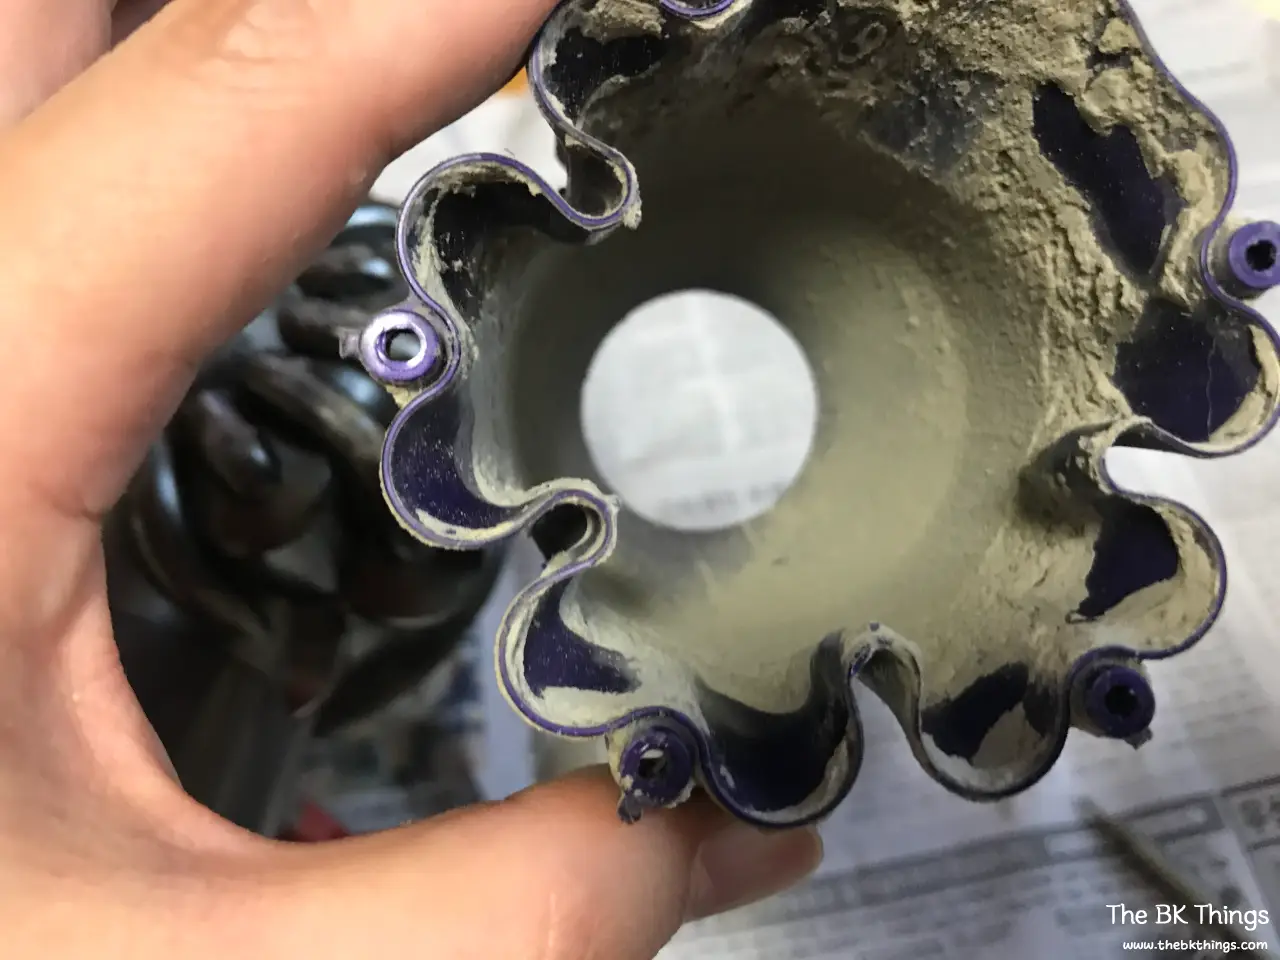
Once I lifted the cover and took a photo of the inside, it was honestly shocking.
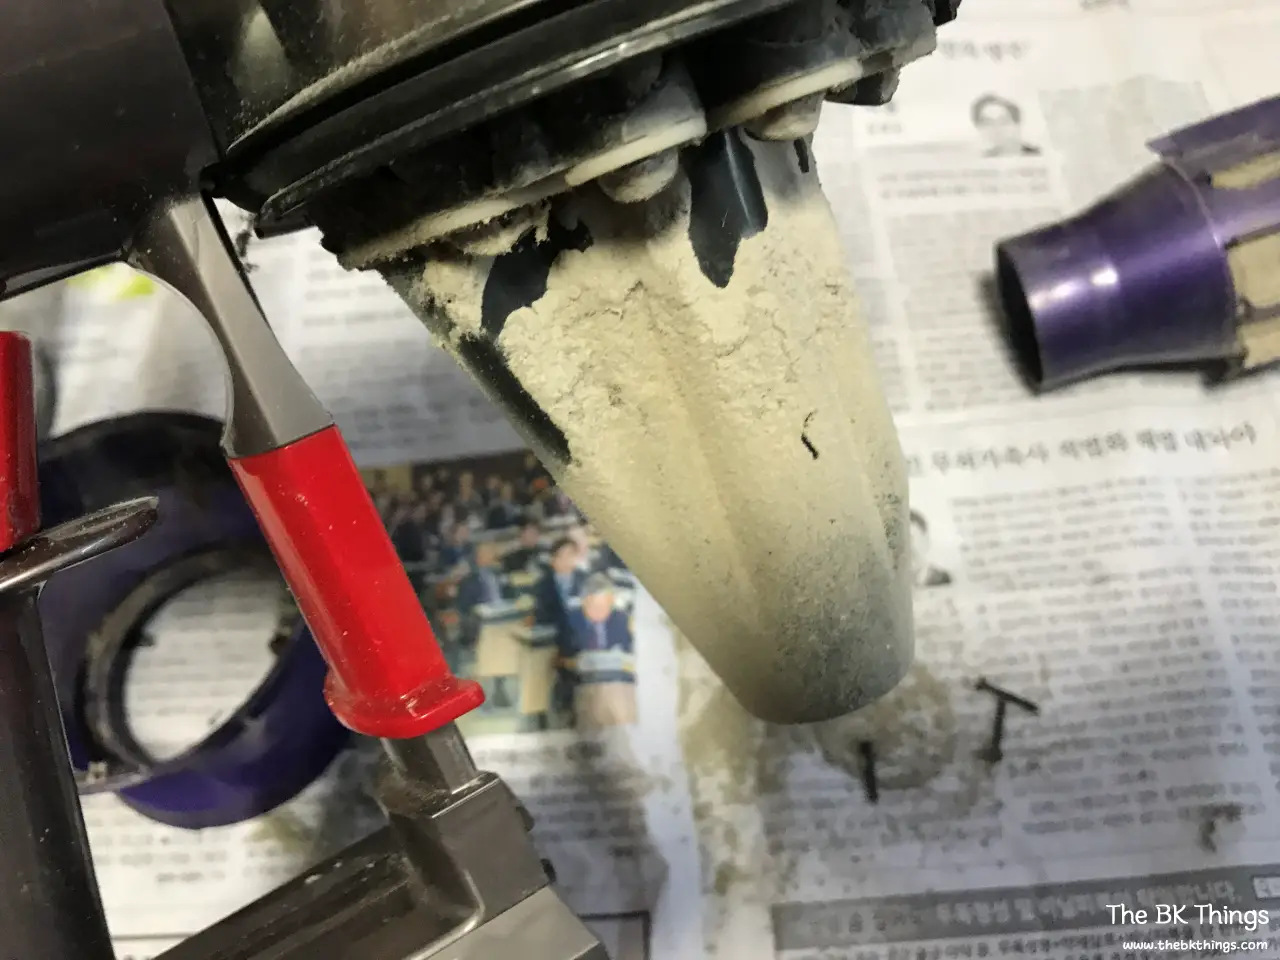
Step 3: Separate the Cyclone from the Motor Body
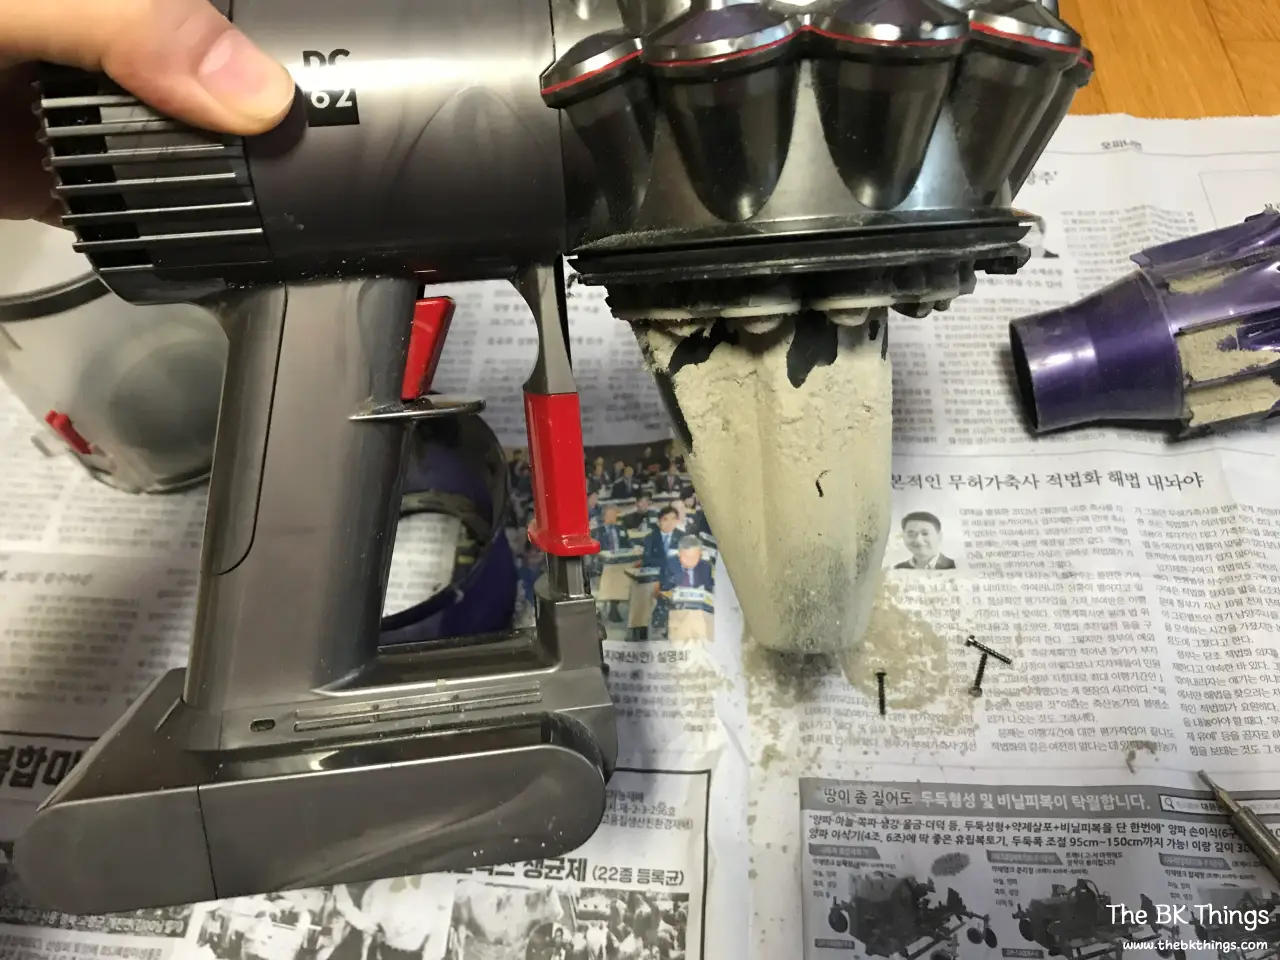
I originally planned to stop here, but it was so bad that I decided to go one step further and completely separate the cyclone assembly from the main body (motor unit).
I didn’t get photos of this part, but teardown videos online make it easy to follow.
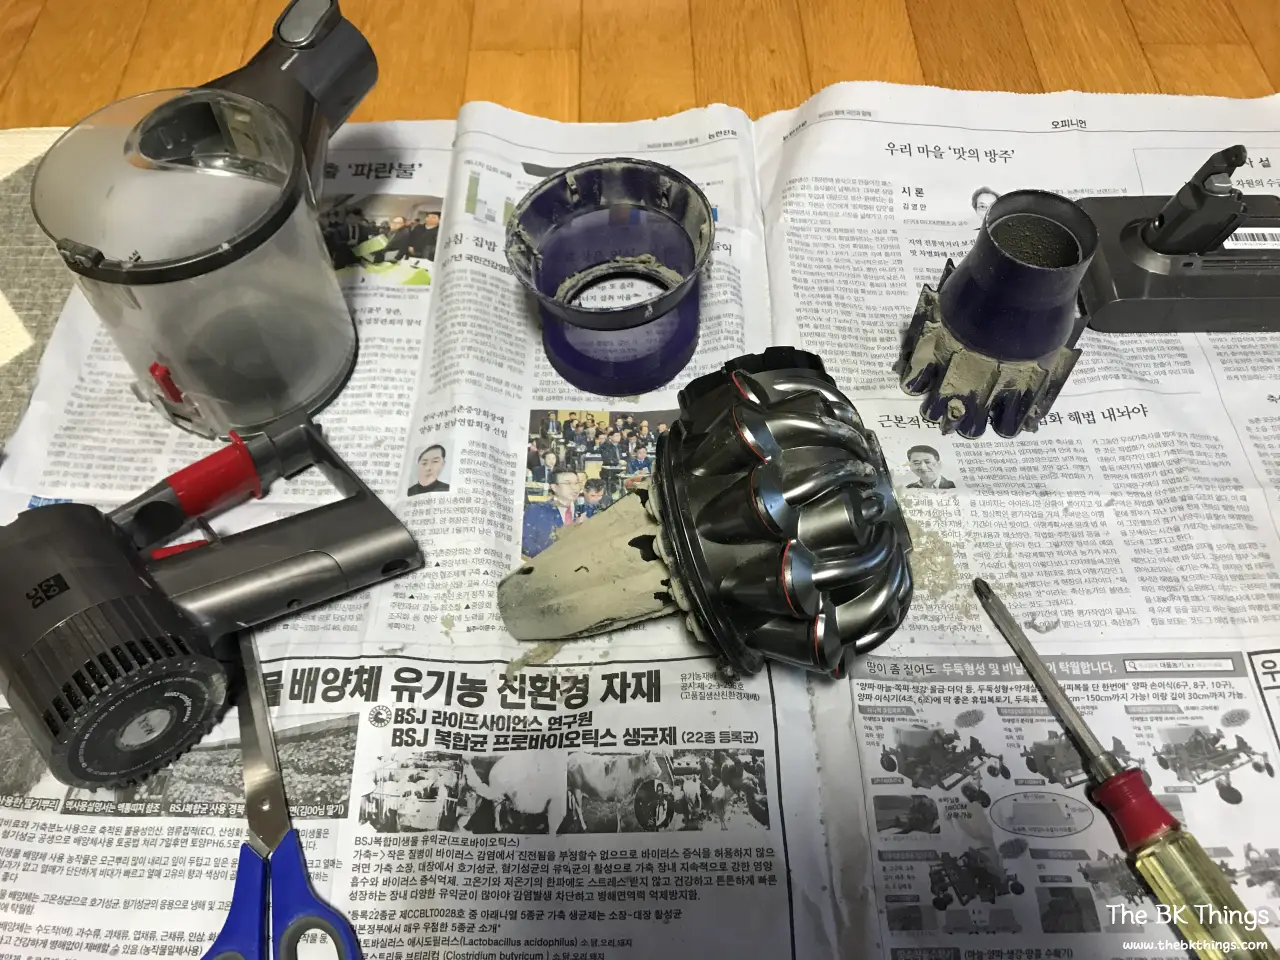
Here it is fully disassembled, with dust everywhere. Again, do this in the bathroom.
Step 4: Wash and Dry
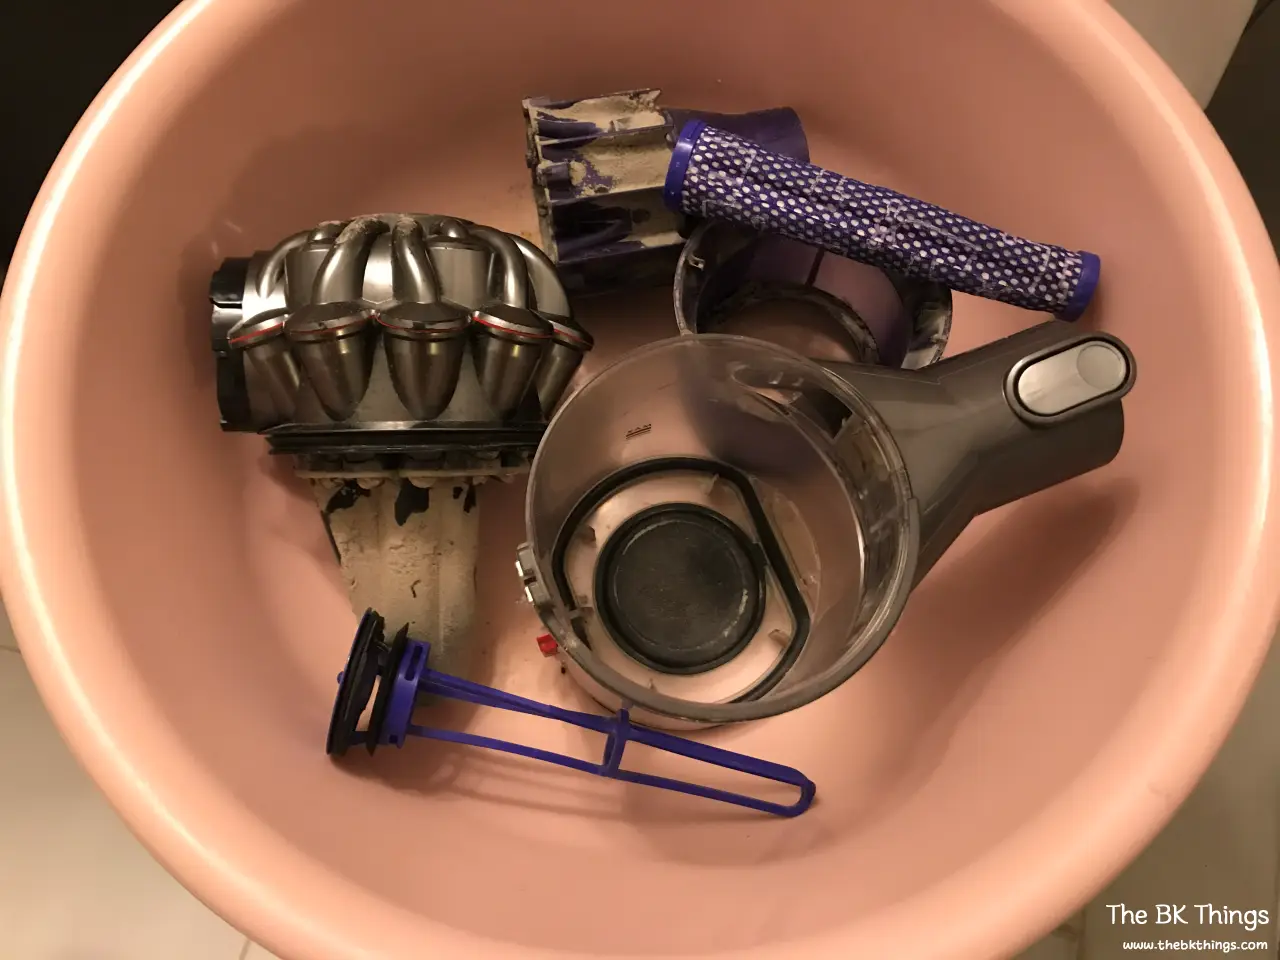
I put the parts in a basin and rinsed them with water. The bathroom got very dirty.
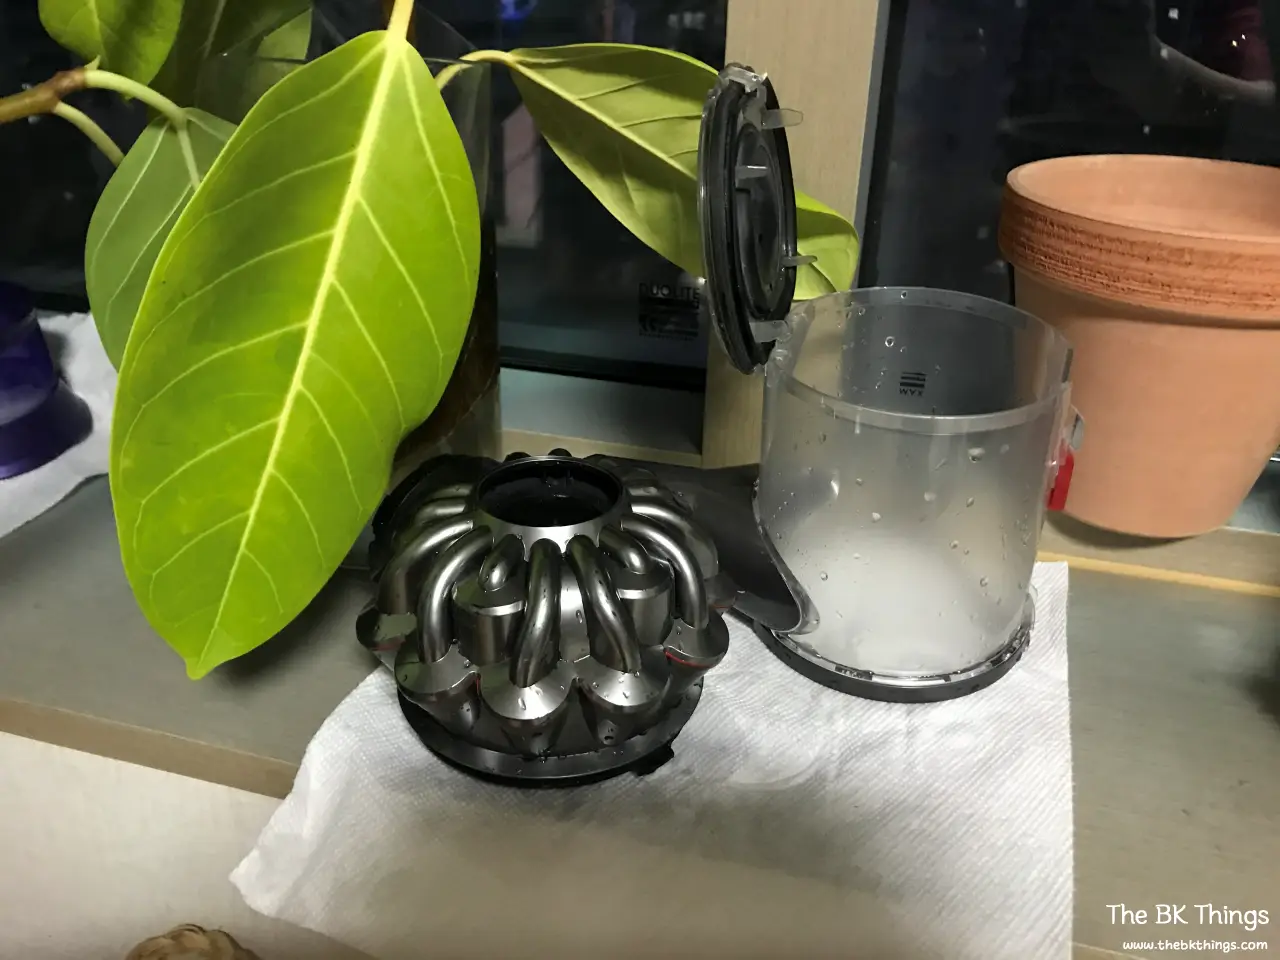
After washing, I let everything dry for about a full day. Make sure every part is completely dry before reassembling.
Step 5: Reassemble
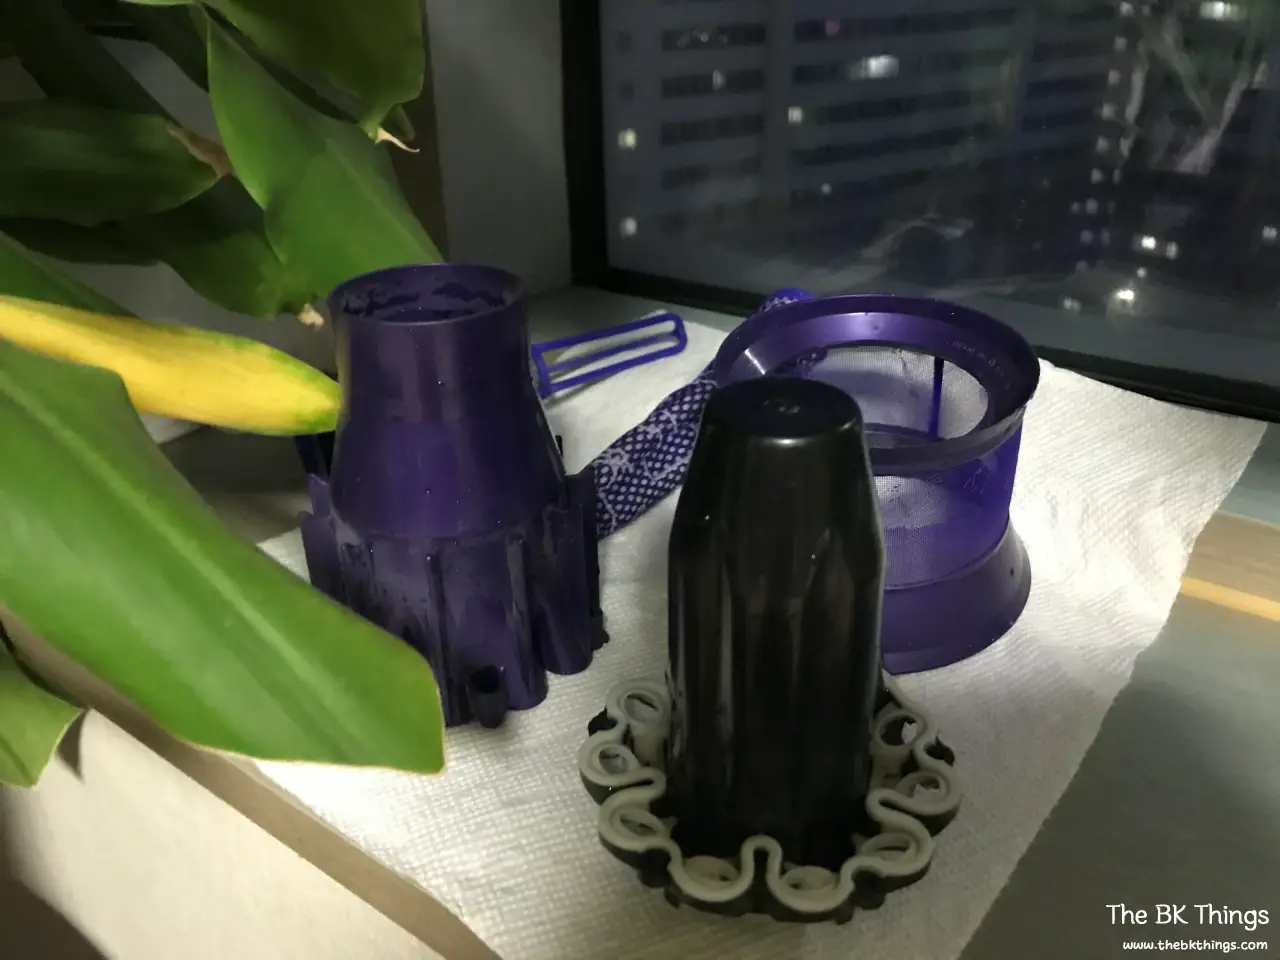
Once dry, reassemble in reverse order. Using it after the cleaning felt great. The smell was gone.
Final Thoughts
I think I’ll need to fully disassemble and clean my Dyson V6 at least once every six months. The first time takes a while, but it should be much quicker from now on.
As I mentioned, using the mini motorized tool on fabric sofas and car seats is what builds up this dust, and shaking the bin out doesn’t remove all of it. I’ll keep an eye on how much accumulates and clean it regularly.
I also removed the battery during this process. It only takes a screwdriver, so replacing the battery should be easy when its life starts to fade.